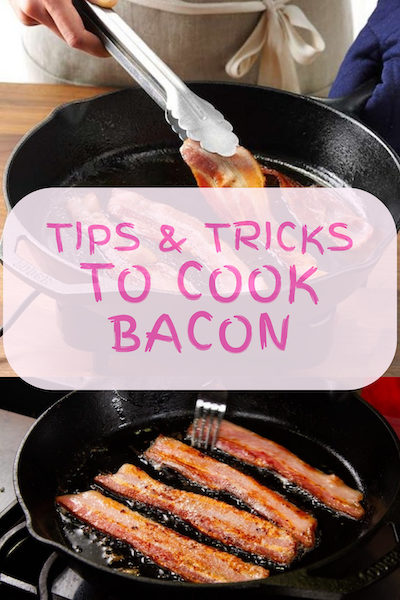
No doubt that many people are CRAZY about bacon! And it’s no wonder given its savory crunch and recent finds that bacon is actually okay to eat in moderation. So we bring you these tips & tricks to cook bacon as your go to guide from choosing it to cooking it.
Whether for yourself or for your set of guests, what is the best way to cook bacon? There are many ways to do this, and there are even more contraptions sold to aid in your quest to cook bacon.
Here we bring you the different ways and purposes to cook bacon, differences between bacon cuts, choosing its thickness, where to cook it, how to choose it and more.
Make sure to save this post in your favorites because you might need to be coming back to it if you love bacon!
Let’s go…
Table of content
Picking the right bacon cut
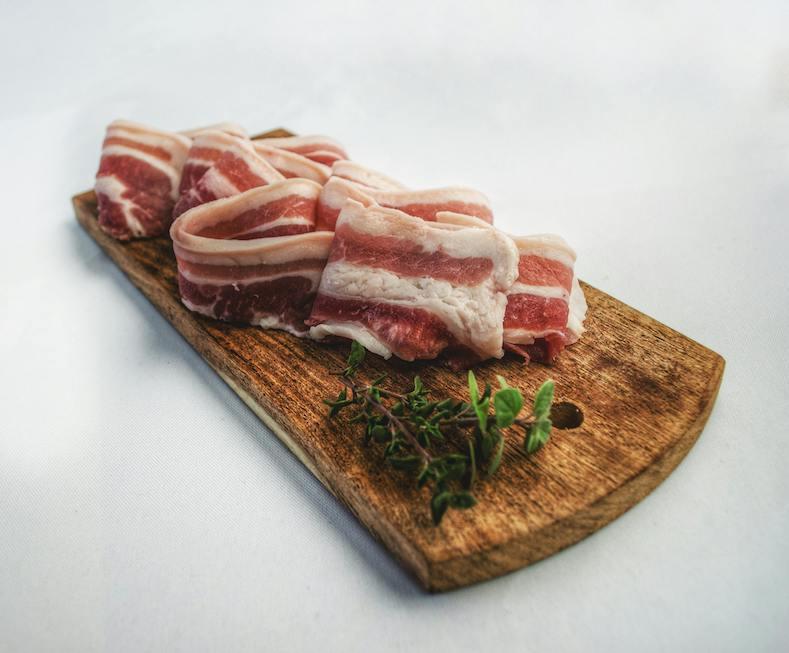
There are different brands, types, and cuts to go with. For this post, we’re focusing specifically on pork bacon.
There are various forms of bacon in the world, with regional favorites in pretty much every pork-eating country. For classic American strips of bacon, it is best to focus on three specific cubs: streaky, regular, and center cut.
Streaky bacon is also known as side bacon and is one of the most popular cuts of bacon out there. However, it is also very fatty, which means you’re getting less protein and more fat per slice.
Due to this, in terms of quality bacon with more actual meat per strip, we recommend going with regular bacon and center-cut bacon. Both of these strips will result in crispy, salty and tasty bacon.
Difference between regular and center cut bacon
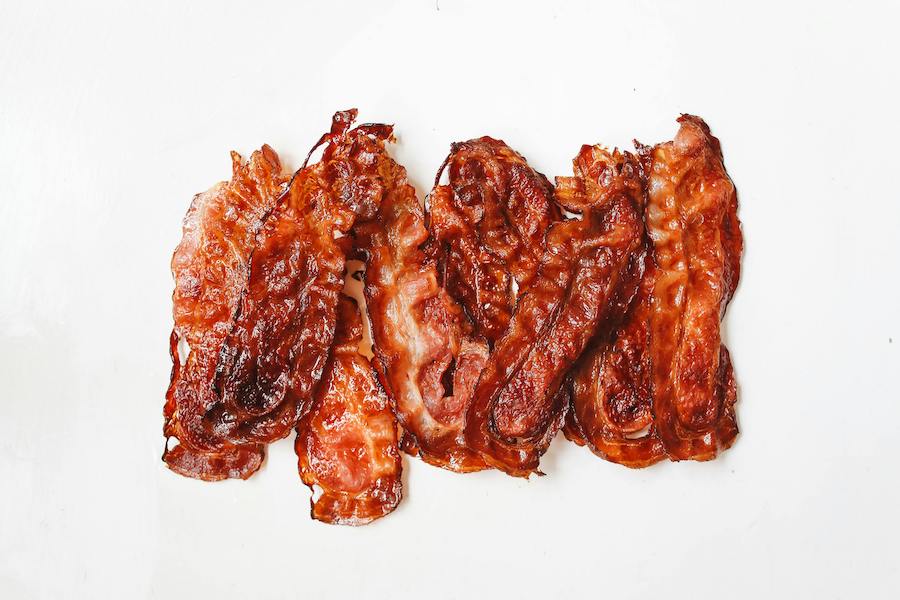
The main difference is noticeable if you directly compare the two side by side. Regular bacon has fatty edges, while these fatty edges are removed on center-cut bacon.
The removal of these fatty edges removes around 25% to 30% of the fat from each strip. Bacon manufacturing leader Hormel says that its center-cut bacon as has 25% less fat than its regular bacon. So, if you are looking for bacon with less fat, but still want to enjoy pork bacon instead of turkey, center cut is the the one to choose.
One thing to keep in mind though is that fattier bacon has less chances of sticking to the cooking surface. As fat heats, it starts to break down, providing a rendered, liquid barrier between the protein and the hot surface.
Choosing bacon thickness
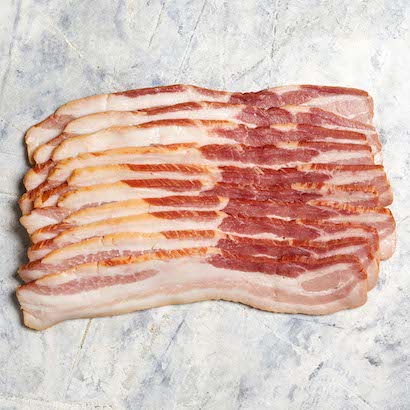
When talking about cooking the perfect slice of bacon, the thickness comes down to personal preference.
Thinner bacon has a slight edge when it comes to crispiness, but even thick-cut bacon will cook into crispy awesomeness given a little extra cooking time. As we will show later in this post, the cooking time is negligible, as well. Thick-cut bacon might take a minute or two longer to fully cook, but that is really the only difference between the two.
Best cooking surface for bacon
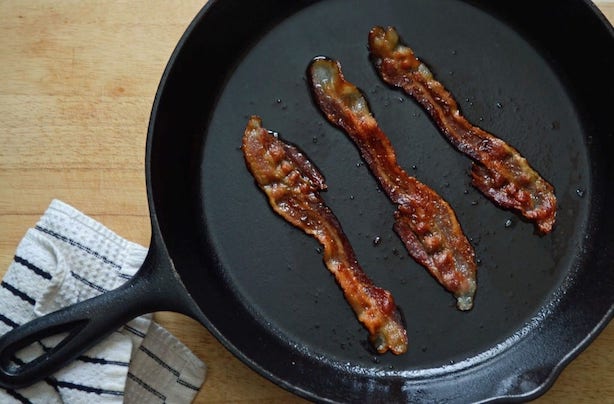
Not all surfaces are created equal. Yes, there are stainless steel and aluminum options out there, but nothing lets you cook with the flavors of previous batches of bacon like cast iron. Cast iron is also built to last!
Well-taken care of cast iron will last not only your lifetime but the lifetime of your children, possibly the very individuals you’re cooking bacon for.
These cooking surfaces are economical, the metal stays hot, and it absorbs some of the oil and flavor of previously prepared dishes.
However, later on this post we’ll let you know of other surfaces to cook bacon on and the different reasons to use them. So, while we recommend cast iron to cook bacon, other surfaces have their good uses too!
Spacing bacon when cooking matters
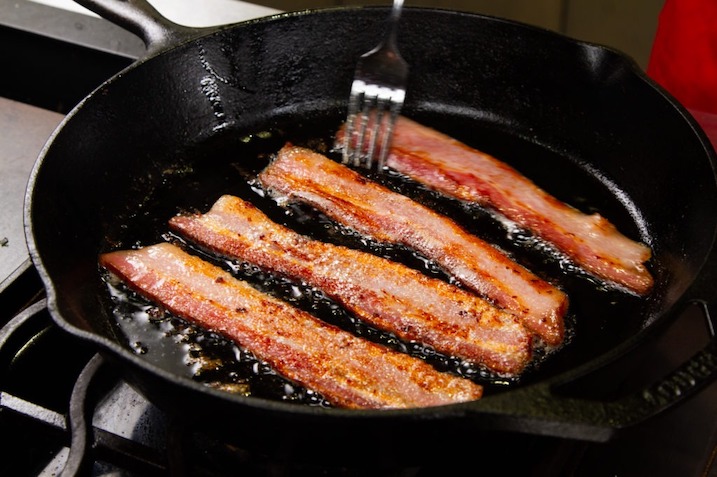
Evenly cooking your bacon strips is key! You don’t want to end up with a half-crispy, half-limp piece of bacon. You want that entire piece of bacon to be uniformly cooked, and to make sure everything cooks evenly you’ll want to space your bacon out.
Thankfully, bacon shrinks when it cooks, so you don’t need much space in between the bacon strips, but do make sure you avoid overlapping and overcrowding the strips.
As the bacon continues to cook, separating the pieces will become easier, thanks to the shrinkage that takes place during the cooking process. You might feel inclined to add additional strips of bacon as space is made available.
However, it’s best to hold off and pour out the excess grease in between batches, so don’t add more bacon until all the current bacon has finished cooking. Just make sure to avoid overlapping the strips of bacon after flipping.
All of your bacon should cook evenly and be ready for serving at about the same time.
Low and slow cooking bacon
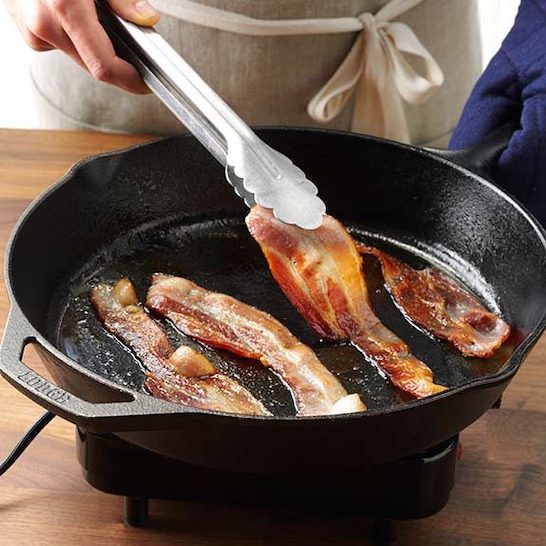
With bacon, set your stove to medium-low heat. This will give your bacon fat enough time to render without overheating the pan, causing the protein to stick.
Thanks to the thin nature of bacon, you don’t need a ton of heat to fully cook the meat. Plus, because you’re cooking bacon at a low temperature, there is less of a chance of grease splatter.
With that said, you still want to be careful, especially when unsticking or flipping the bacon.
How To Cook Bacon
With so many methods available, it can be difficult to know which method is right for your schedule, recipe, and preferences. After all, the different cooking methods each have their benefits, from even cooking to extra crispiness to easy cleanup.
We’re going to introduce you to five of the best ways to cook bacon. That way, the next time you’re makin’ bacon, you can choose the method that’s best for you.
Cook Bacon For Easy Cleanup: Broil
If you’re looking for supremely crispy bacon and easy cleanup, try cooking bacon under the broiler. The high heat quickly cooks the bacon to produce an evenly crisp finish.
Not only is it quicker than some of the other methods, but it has the added benefit of avoiding the grease splatter that comes with pan frying.
For extra easy cleanup, line your pan with parchment paper or foil. Once your bacon is done, just toss the paper in the trash and place the pan in the dishwasher.
How To Broil Bacon
- Move the top oven rack to about 3” from the broiler.
- Pre-heat oven to broil.
- Place bacon on a sheet pan and cook for about 5-6 minutes, turning at least once.
- Watch closely! Using the broiler can turn the bacon from crispy to burnt rather quickly.
- Drain slices on absorbent paper towels before serving.
Cook Bacon The Classic Way: Pan-Fry
Pan-frying can help get the bacon nice and crispy or a bit chewy, depending on how long you leave it on the heat. Plus, you don’t have to watch it quite as closely as you do when you’re broiling bacon.
When it comes to choosing your pan, you’ll have three main options: cast iron, stainless steel, and non-stick. While all can work in a pinch, cast iron allows for more even cooking and easy cleanup. Plus, you’ll be seasoning your pan as you cook your bacon!
Baking also allows you to save the fat that has collected in the pan so you can reuse it for other recipes.
How To Pan-Fry Bacon
- Lay bacon slices in an ungreased or lightly greased frying pan over medium heat.
- Cook for 8-12 minutes, turning often to achieve even crispness.
- Drain slices on absorbent paper towels before serving.
Cook Bacon For A Crowd: Bake
Baking is one of the easiest ways to cook bacon when you’re making a lot of it!
When you cook bacon in the oven, you lay the slices on a wire rack that is set in a shallow pan. As the bacon cooks, fat drains, leaving you with bacon that’s a little less greasy.
And since air is able to circulate around the slices, the bacon cooks evenly without the need to turn it midway through cooking.
Another benefit of baking bacon is that it’s a mostly hands-off method, so you can prepare other ingredients while the bacon is in the oven.
While baking is an easy way to cook plain bacon strips, you can also use the oven to play around with creative recipes.
How To Bake Bacon
- Preheat oven to 400° F.
- Lay slices of bacon on a roasting rack, then set the rack in a shallow pan to catch the drippings.
- Bake for 10-15 minutes, until bacon is crispy.
Cook Bacon The Quickest: Microwave
If you need your bacon to get crispy quickly, the microwave is your best option. And unlike the other methods, it has minimal cleanup; just put the plate in the dishwasher.
While the microwave is a quick way to cook bacon, it often produces bacon that’s not quite as crispy as the other methods. So if you’re a lover of chewy bacon, the microwave may be for you!
How To Microwave Bacon
- Place 4 slices of bacon on a microwave-safe plate and cover completely with paper towels. You can add up to 2 more layers on top as long as you cover each layer with additional paper towels.
- Cook on HIGH for 4 minutes, or 1 minute per piece of bacon.
- Then cook an additional minute at a time until you almost reach the crispness you prefer. Bacon will become more crispy as it cools.
- Remove carefully from the microwave as fat may have pooled on the plate, and transfer bacon strips to a paper towel-lined plate.
Cook Bacon For Crumbles: Air Fry
Cooking bacon in the air fryer results in crispy, evenly cooked slices. This method only takes about 8-10 minutes, and it allows some of the fat to drain off of the meat.
The bacon does tend to curl up a bit in the air fryer, so this method is best for bacon crumbles rather than on a sandwich when you want your bacon to lay flat.
How To Air Fry Bacon
- Lay bacon in a single layer in the air fryer basket.
- Set air fryer to 400° F.
- Give the basket a shake occasionally while cooking to prevent sticking.
- Check bacon at 5 minutes and rearrange if necessary for even cooking.
- Cook for 8-10 minutes, depending on your crispness preference.
Re-cook Previously Cooked Bacon: Reheat
If you’ve stored your bacon in the refrigerator or freezer, you might want to warm it up before enjoying it.
When it comes time to reheat frozen cooked bacon, the first step is defrosting. Move the bag of bacon to the refrigerator and allow it to defrost for at least eight hours. If you’re in a rush, you can also defrost it in the microwave.
At this point, you can choose from a variety of reheating methods. If you’re aiming for a savory crunch, the oven is the ideal option. Preheat your oven or toaster oven to 400ºF. While it’s heating up, lay your bacon out in a single layer on a baking sheet. After the oven is preheated, pop the sheet into the oven for about five minutes. Once you hear your bacon begin to sizzle, it’s time to enjoy!
If you don’t want to wait on your oven, you can easily reheat your bacon on the stovetop. Turn a burner on to medium-high heat and allow a frying pan to heat up. Once the pan is hot, place a single layer of bacon on it. After a few minutes, your bacon will be crispy and ready to eat.
One more option is an air fryer, if you have one. Preheat your fryer to 350ºF then cook the bacon for three to four minutes.
Any equipment recommendation?
Based on the previously shared information, we do have our favorites when it comes to the equipments to make bacon.
Some of these favorites are included below for you to check them out…
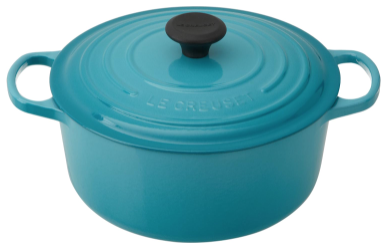
Le Creuset Cast Iron Dutch Oven, 5.5 qt.
A superior heat distribution and retention of Le Creuset enameled cast iron.
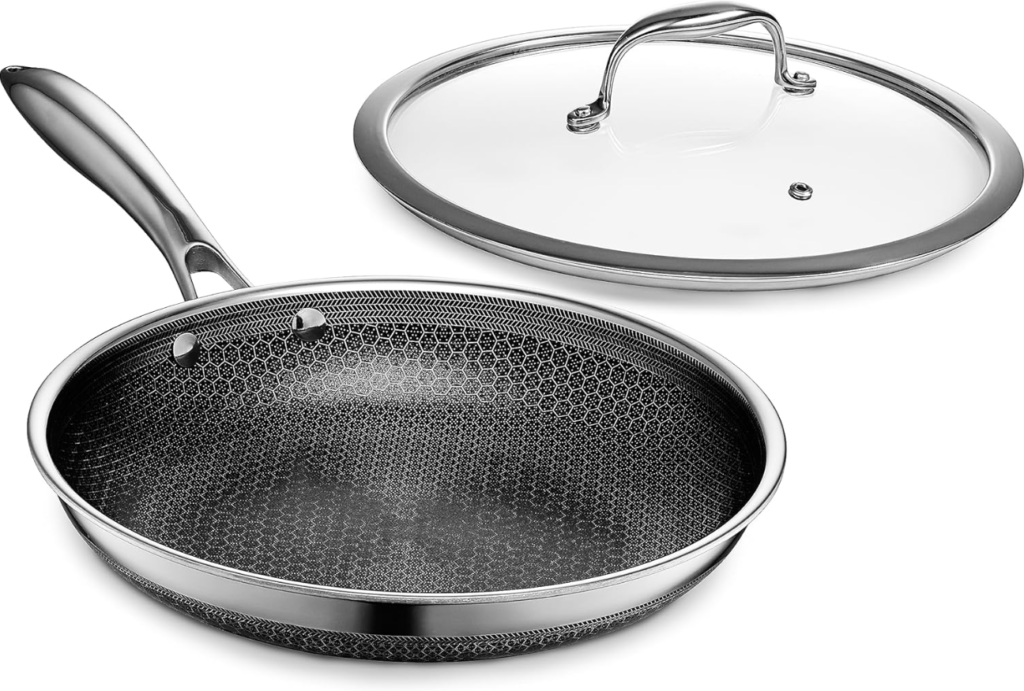
Hybrid Nonstick 10-Inch Fry Pan
Delivers the searing power of stainless, durability of cast-iron and easy cleanup of nonstick.
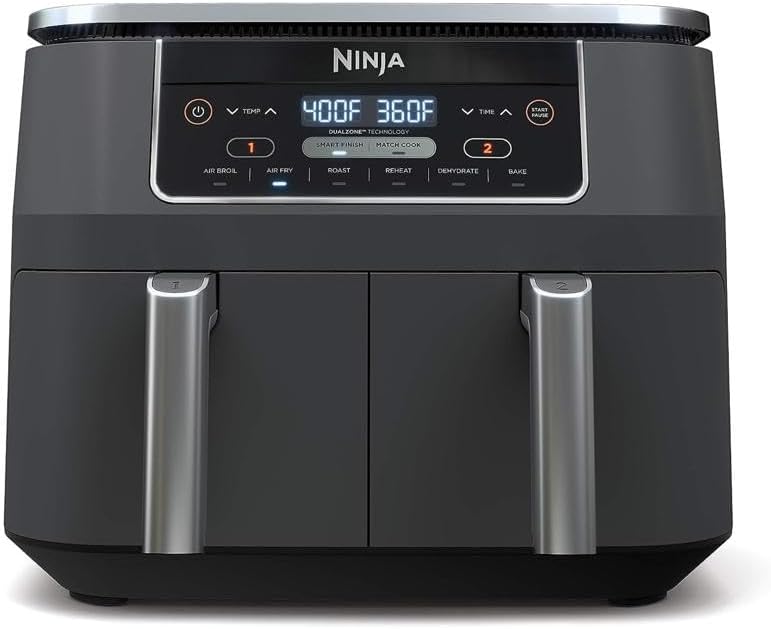
Ninja Air Fryer with 2 Independent Baskets
The original Air Fryer with 2 independent baskets, the XL air fryer lets you cook 2 foods, 2 ways, at the same time.
Affiliate Disclosure
This post may contain affiliate links, i.e., when you buy any product using these links, we get commissions. However, it doesn’t cost you anything extra. If you do purchase any product using the given links, we thank you in advance!
Related posts and recipes
We have a large number of posts and recipes that you can mix with bacon using any of the methods previously explained in this post.
Here are a few of our posts where you can look at and see if you want to add bacon to:
- Air Fryer Steak
- Mediterranean Veggie Scrambled Eggs
- Broiled Chicken Breast
- Avocado Egg Salad (Keto)
- Steak Fettuccine Alfredo
You can explore our recipes and see where you can add bacon and play around with them after you’ve see these tips & tricks to cook bacon.
If you have any questions or comments, make sure to reach out to us or leave us a comment down below.
Thank you for reading us!

